
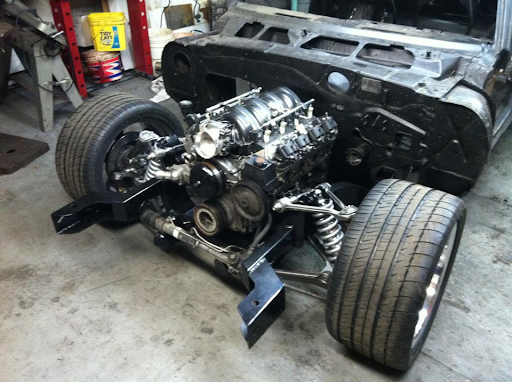
Suspensions are very important for smooth maneuvering of vehicles, and also for neutralizing the shocks that are created due to the poor or uneven roads. Poor suspensions will cause a lot of discomfort to person driving, and also to people sitting on the back seats. The situation surely calls for a suspension change or swap.
However, it is difficult to find the company make suspensions for older vehicles like the Ford F100. So, people often ask, ‘Will an X suspension fit in the Y sled?
Well, the simple answer is YES, but it will depend upon your skills and confidence to perform a successful swap. Swapping suspension is not that hard as people believe it to be. You will need to have necessary tools and supplies to get the job done perfectly.
However, your suspension-swap progress might come to an abrupt halt, if you discover that there is an old part that requires replacement. You simply cannot find some of those parts in the market. Basic knowledge of mechanism, good tool kit, and patience is needed to get the task done.
What to consider in a good suspension swap?
Drill new mounting holes
If you are trying for Ford F100 suspension swap then buy mounting kit. You will need to put 4 new mounting holes in the tunnel.
Even though it may sound easy, it is much tougher to do that. Usually, the original holes will never be found in correct location. In addition, the mounting holes should be supported by few steel support plates that are always in wrong location for new skid.
It will never be right to move all mounting holes as per the existing holes. First thing that has to be done is decide where the holes for new mounting are to be placed. Be careful about locating all the mounting holes. Try to mark all four holes and again verify the locations.
Now, decide what will be the best approach for dealing with support plate and certain obstacles in the way. In case you are lucky, then new holes may be in synch with the old support plate.
In case you need moving the support plate, then follow the steps given below:
- Move original support plates then drill original rivets from inside of tunnel just enough so that you can pry your support plate loose. The original rivets may remain in the tunnel to reduce number of holes.
- Hold large hammer on the rivet head from the tunnel’s exterior and peen over remaining rivet on inside the tunnel.
- Now you can move support plate to a new location according to specification.
- Once you have drilled the mounting hole put bolt through and mount it on the tunnel.
- Now, drill all the rivet holes. Make sure that the rivet location does not get in the way, when you get the suspension in or out.
Attach support plates
With new rivet holes, you get a snug fit. Use heavy duty rivets because nylock nuts and small bolts are not recommended. Slide support plate under tunnel cooler. You may need to cut cooler mounting flange, so that the support plate slides inside. Make sure to cut it sufficiently.


